服务部署文件
deployment.yaml
1
2
3
4
5
6
7
8
9
10
11
12
13
14
15
16
17
18
19
20
21
22
23
24
25
26
27
28
29
30
31
32
33
34
35
36
37
38
39
40
41
42
43
44
45
46
47
| apiVersion: apps/v1
kind: Deployment
metadata:
name: air
namespace: {{ .Release.Namespace }}
labels:
app: air
annotations:
spec:
replicas: {{ .Values.replicaCount }}
selector:
matchLabels:
app: air
minReadySeconds: 5
strategy:
type: RollingUpdate
rollingUpdate:
maxSurge: 1
maxUnavailable: 1
template:
metadata:
labels:
app: air
spec:
nodeSelector:
{{ toYaml .Values.nodeSelector | indent 8 }}
containers:
- name: air
image: air:v1.28
resources:
{{ toYaml .Values.resources | indent 10 }}
command: ["/bin/sh", "-c"]
args:
- >
go env -w GOPROXY=https://mirrors.aliyun.com/goproxy,direct;
apt-get update && apt-get install -y vim;
tail -f /dev/null;
volumeMounts:
- name: project
mountPath: /opt/air // 将主机上的目录映射到容器中
ports:
env:
volumes:
- name: project
hostPath:
path: /home/air // 将主机上的目录映射到容器中
type: DirectoryOrCreate
|
service.yaml
1
2
3
4
5
6
7
8
9
10
11
12
13
14
15
16
17
18
| apiVersion: v1
kind: Service
metadata:
name: air
namespace: {{ .Release.Namespace }}
spec:
selector:
app: air
type: NodePort
ports:
- name: port
port: 8080 // 服务的端口
targetPort: 8080
nodePort: 32222
- name: dlv
port: 8081 // dlv端口
targetPort: 8081
nodePort: 32223
|
air热加载
1
2
3
4
5
6
7
8
9
10
11
12
13
14
15
16
17
18
19
20
21
22
23
24
25
26
27
28
29
30
31
32
33
34
35
36
37
38
39
40
41
42
43
44
45
46
| # [Air](https://github.com/cosmtrek/air) TOML 格式的配置文件
# 工作目录
# 使用 . 或绝对路径,请注意 `tmp_dir` 目录必须在 `root` 目录下
root = "."
tmp_dir = "tmp"
[build]
# 只需要写你平常编译使用的shell命令。你也可以使用 `make`
# Windows平台示例: cmd = "go build -o tmp\main.exe ."
cmd = "go build -o ./tmp/main ."
# 由`cmd`命令得到的二进制文件名
# Windows平台示例:bin = "tmp\main.exe"
bin = "tmp/main"
# 自定义执行程序的命令,可以添加额外的编译标识例如添加 GIN_MODE=release
# Windows平台示例:full_bin = "tmp\main.exe"
full_bin = "APP_ENV=dev APP_USER=air ./tmp/main"
# 监听以下文件扩展名的文件.
include_ext = ["go", "tpl", "tmpl", "html"]
# 忽略这些文件扩展名或目录
exclude_dir = ["assets", "tmp", "vendor", "frontend/node_modules"]
# 监听以下指定目录的文件
include_dir = []
# 排除以下文件
exclude_file = []
# 如果文件更改过于频繁,则没有必要在每次更改时都触发构建。可以设置触发构建的延迟时间
delay = 5000 # ms
# 发生构建错误时,停止运行旧的二进制文件。
stop_on_error = true
# air的日志文件名,该日志文件放置在你的`tmp_dir`中
log = "air_errors.log"
[log]
# 显示日志时间
time = true
[color]
# 自定义每个部分显示的颜色。如果找不到颜色,使用原始的应用程序日志。
main = "magenta"
watcher = "cyan"
build = "yellow"
runner = "green"
[misc]
# 退出时删除tmp目录
clean_on_exit = true
|
通过goland配置自动同步,改了代码之后,goland自动会将代码同步到远端服务器上,容器内部可使用,air检测到改动,会自动构建。容器中执行air命令
1
2
3
4
5
6
7
| # air -c .air.conf
__ _ ___
/ /\ | | | |_)
/_/--\ |_| |_| \_ , built with Go 1.16.5
[06:18:14] watching .
|
获取主服务进程pid
1
2
| # ps aux | grep main
root 60051 0.1 0.0 1627800 56260 pts/4 Sl+ 06:18 0:00 ./tmp/main
|
安装dlv,如果安装失败,则重装go之后再次重试
1
2
3
4
| git clone https:
cd delve/cmd/dlv/
go build
go install
|
或者使用go安装,更推荐
1
| go install github.com/go-delve/delve/cmd/dlv@latest
|
dlv通过pid实现debug
1
| dlv --listen=:8081 --headless=true --api-version=2 --accept-multiclient attach 60316
|
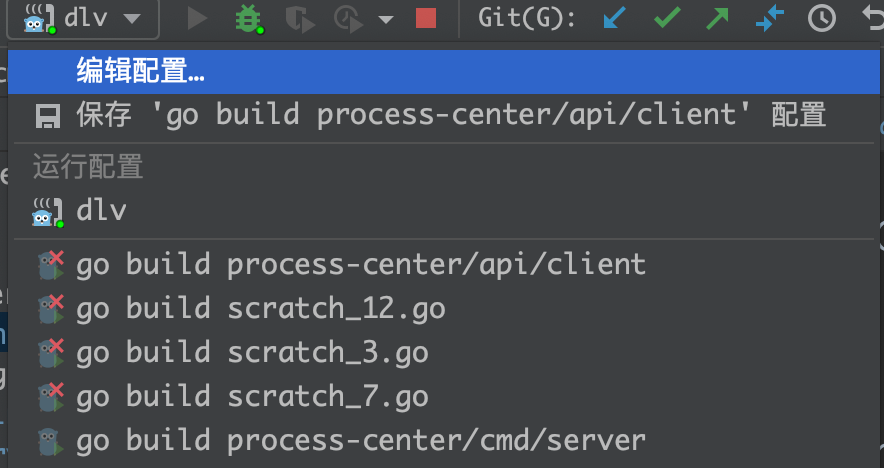
Goland选择dlv
![image-20221023162925363]()
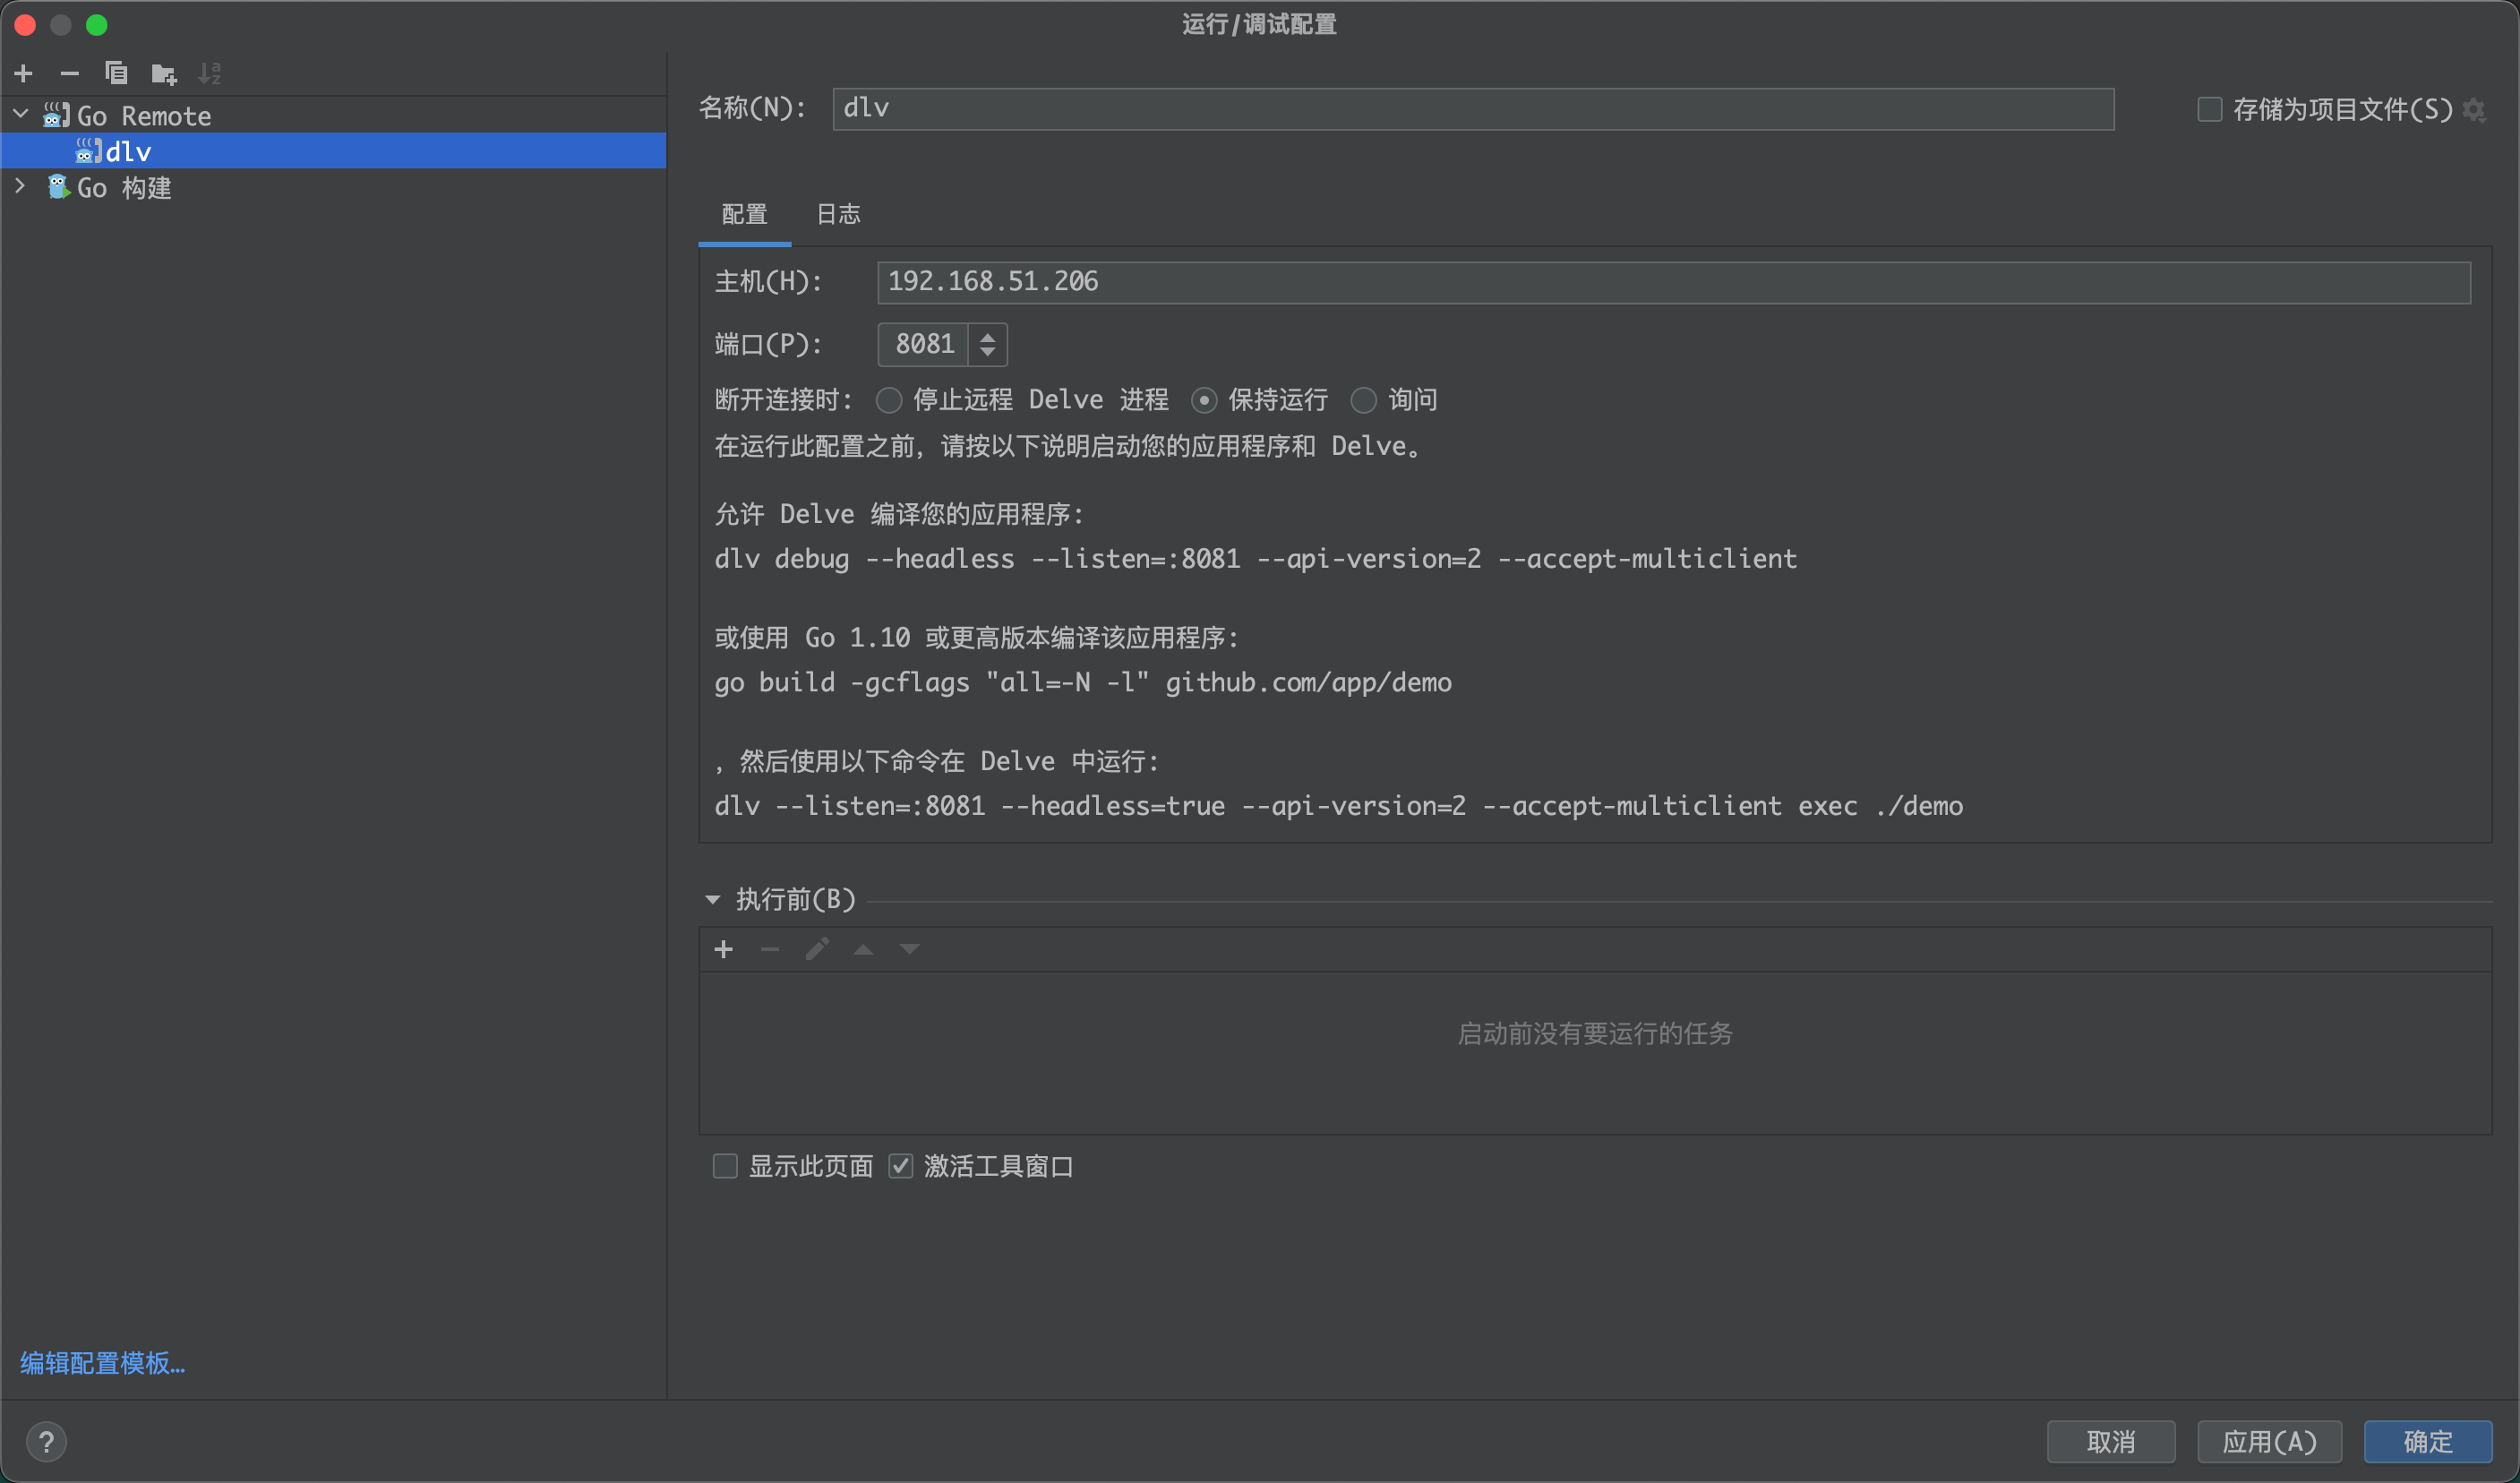
设置主机和接口即可
![image-20221023162902013]() 1
1
 1
1